

Before you start
You need:- A Webflow site with at least one CMS collection that has fields to fill.
- An Airtable base with a table whose columns roughly match those Webflow fields.
- Permission to authorize apps on both accounts.
1. Create your account
Go to the sign-up page and enter your email — registration starts with the address alone. Follow the verification link to set your name and a password of at least 12 characters. Or continue with Google.2. Connect Webflow
Right after sign-up, Synclify walks you through connecting Webflow.1
Authorize Synclify
Click Connect Webflow. You are sent to Webflow to authorize read and write access to your CMS.
2
Choose your sites
Back in Synclify, tick the Webflow sites you want to sync. You need at least one. Click Continue.
3. Connect Airtable
1
Open Data Sources
In the left sidebar, click Data Sources.
2
Add the source
Click Add data source, choose Airtable, and authorize. Synclify then discovers your bases and tables.
4. Create a connection
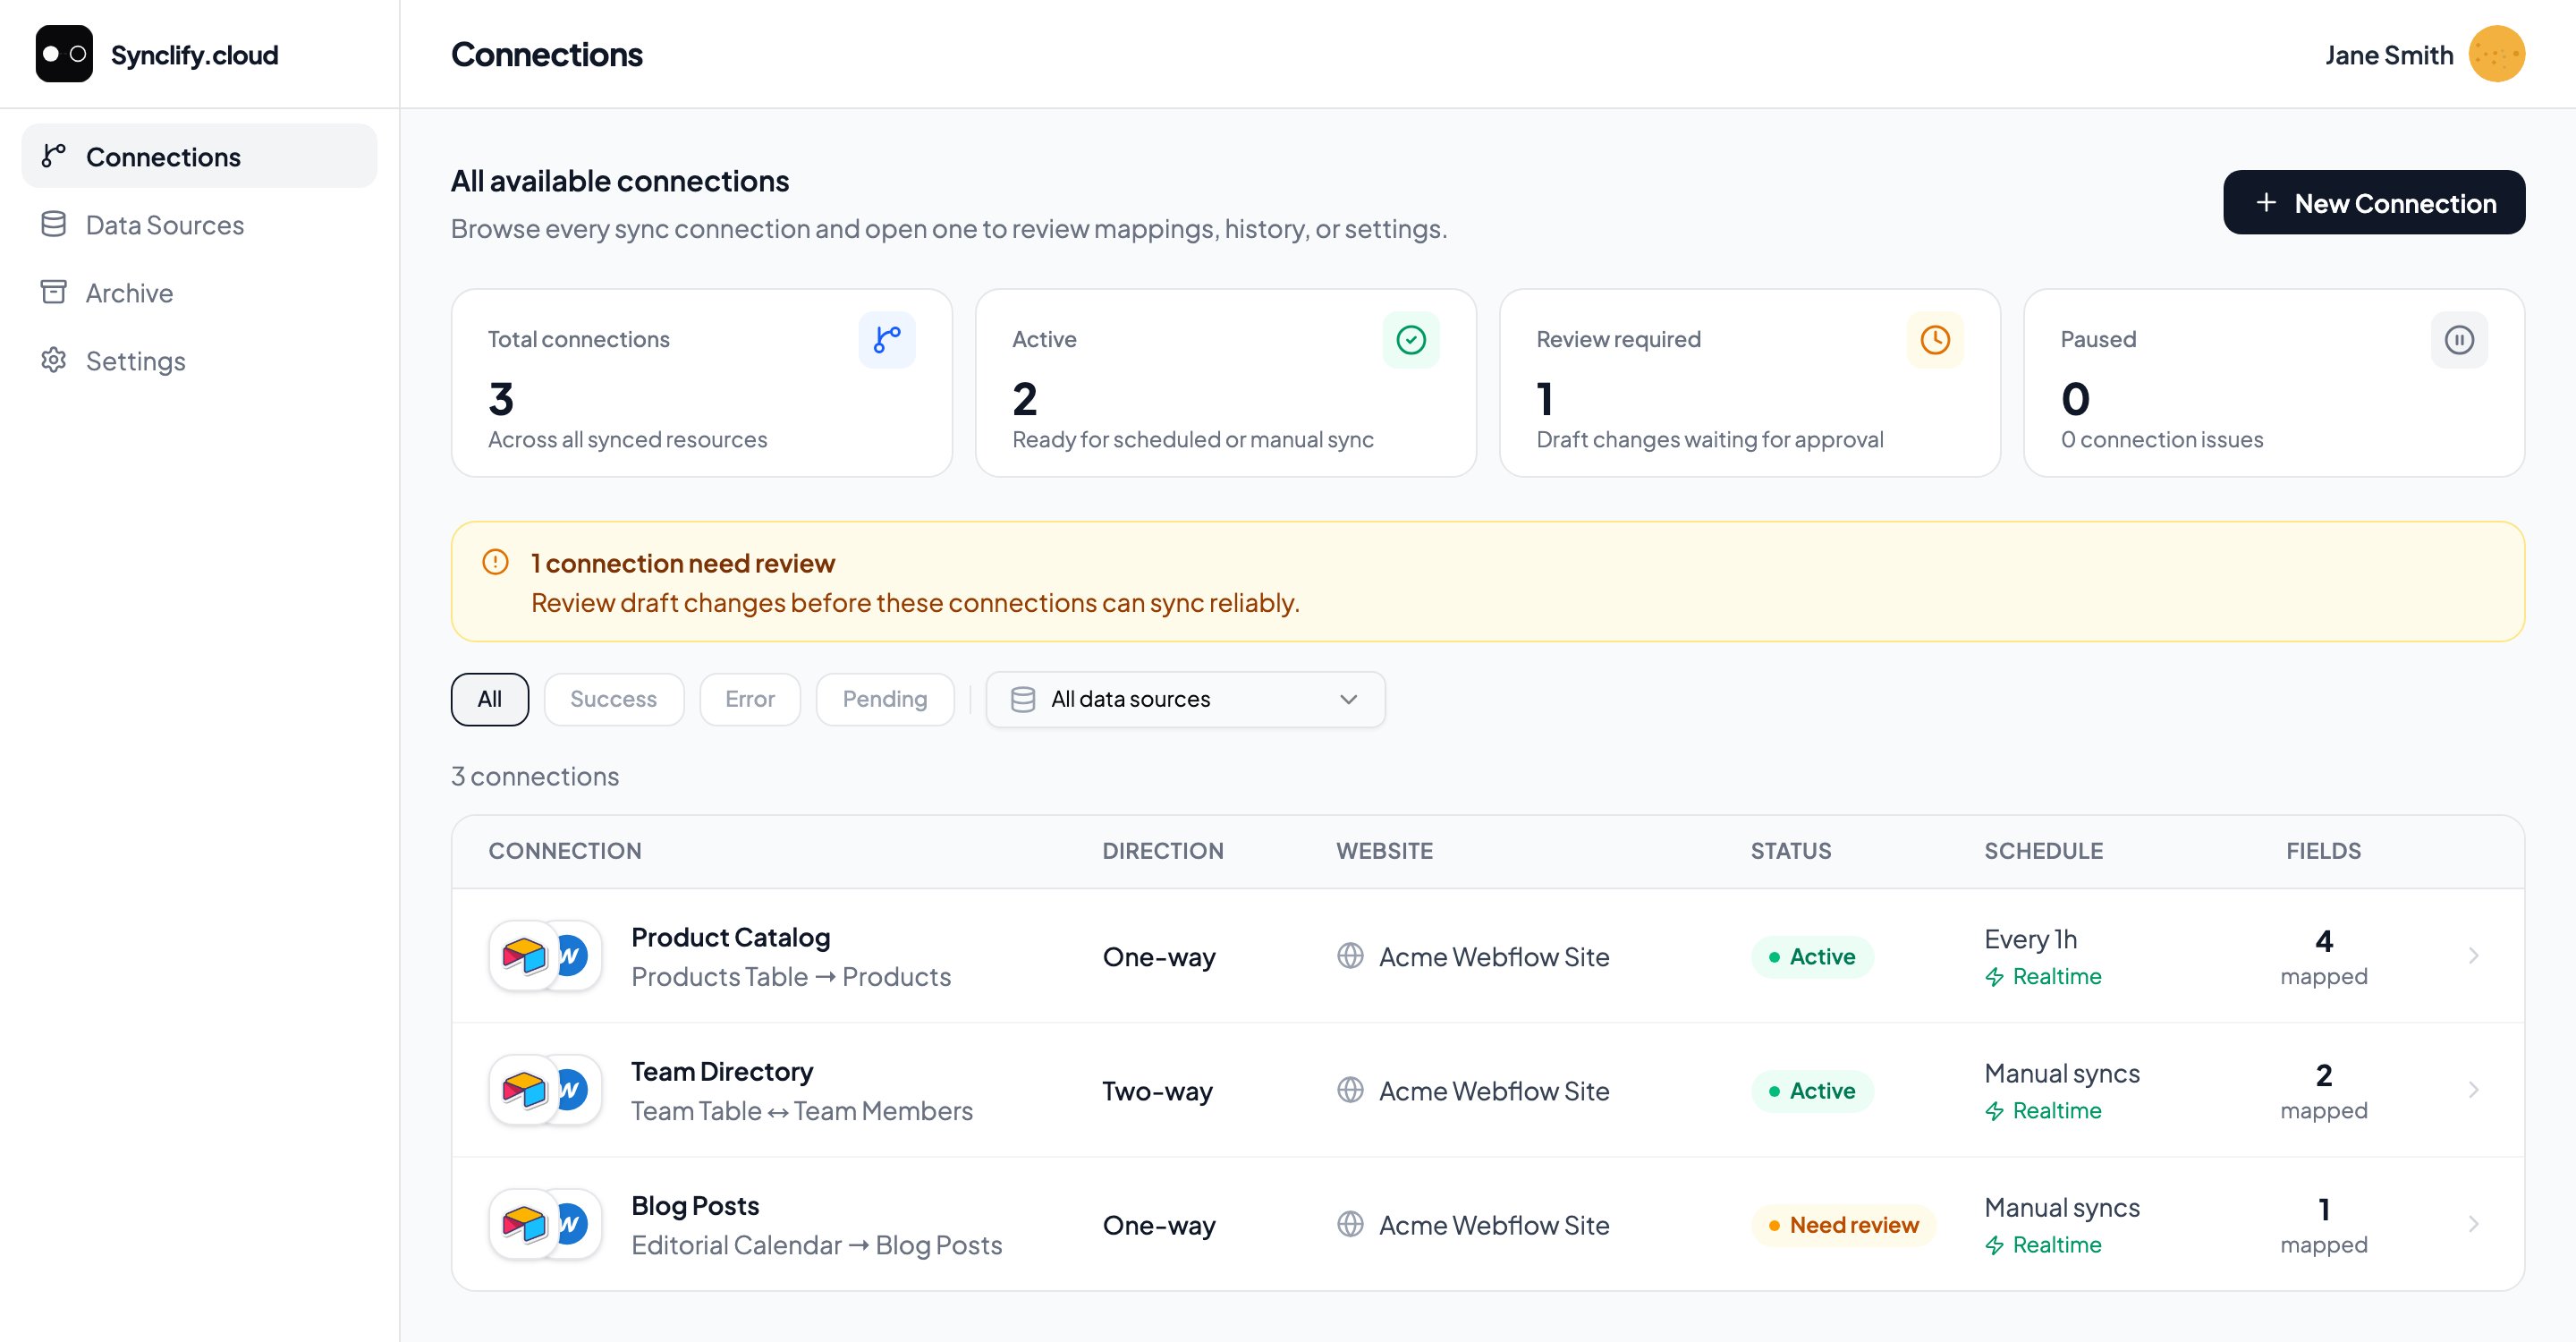
Click Connections → New connection. Four steps:1
Destination
Pick the Webflow site and CMS collection to sync into.Each Webflow collection can back only one live connection. If it is already taken, Synclify blocks you and tells you to delete the existing connection first.
2
Source
Pick Airtable, then the specific base and table.
3
Map fields
Synclify auto-maps source columns to Webflow fields by name. Review them.Set one pair as the ID field — this is how rows and CMS items find each other.
Slug, Name, and Title are detected automatically where possible.Mismatched types (mapping text into a number field, for example) block you from continuing. Fix the mapping or change the field type.Full detail: Field mapping.4
Settings
Name the connection. Then choose:
- Sync direction — One-way (source updates Webflow) or Two-way (shared fields update both sides).
- Sync cadence — Manual only, or add a polling fallback scan. Minimum interval is 5 minutes.
- Auto-publish after sync — on by default. Synced items go live rather than staying as staged changes.
- Delete orphaned records — off by default. Leave it off unless you want removing a source row to delete the Webflow item.
5. Let guided setup run
Synclify does not blindly write into a collection that already has items. It walks you through reconciling what exists on both sides:- Auto pairing — matches existing Airtable rows to existing Webflow items on your ID field.
- Record decisions — decide what to do with rows that have no Webflow item, and Webflow items that have no row.
- Conflicts — for records that exist on both sides with different values, pick the winner.
- First sync — Synclify shows you a full preview of every create, update, and delete. Approve it and the connection activates.
6. Watch it run
On the connection page you see live progress through five phases: Fetch source → Diff records → Write to Webflow → Publish → Done, with running counts of records created, updated, deleted, skipped, and failed. From here on, editing a row in Airtable triggers a sync on its own.Next steps
How Synclify works
Sync direction, identity fields, and per-field ownership.
Editing a live connection
Change a mapping safely using drafts.
Running syncs
Realtime, polling, and manual runs.
Workspace health
One page listing everything that needs your attention across connections and accounts.
Troubleshooting
What the errors mean and how to clear them.