

Connect the account
1
Open Data Sources
Click Data Sources in the sidebar. (It also lives at
/sites.)2
Add data source
Click Add data source and pick Airtable.
3
Authorize
Airtable asks which bases to grant access to. Synclify reads the bases, tables, columns, and rows you grant.
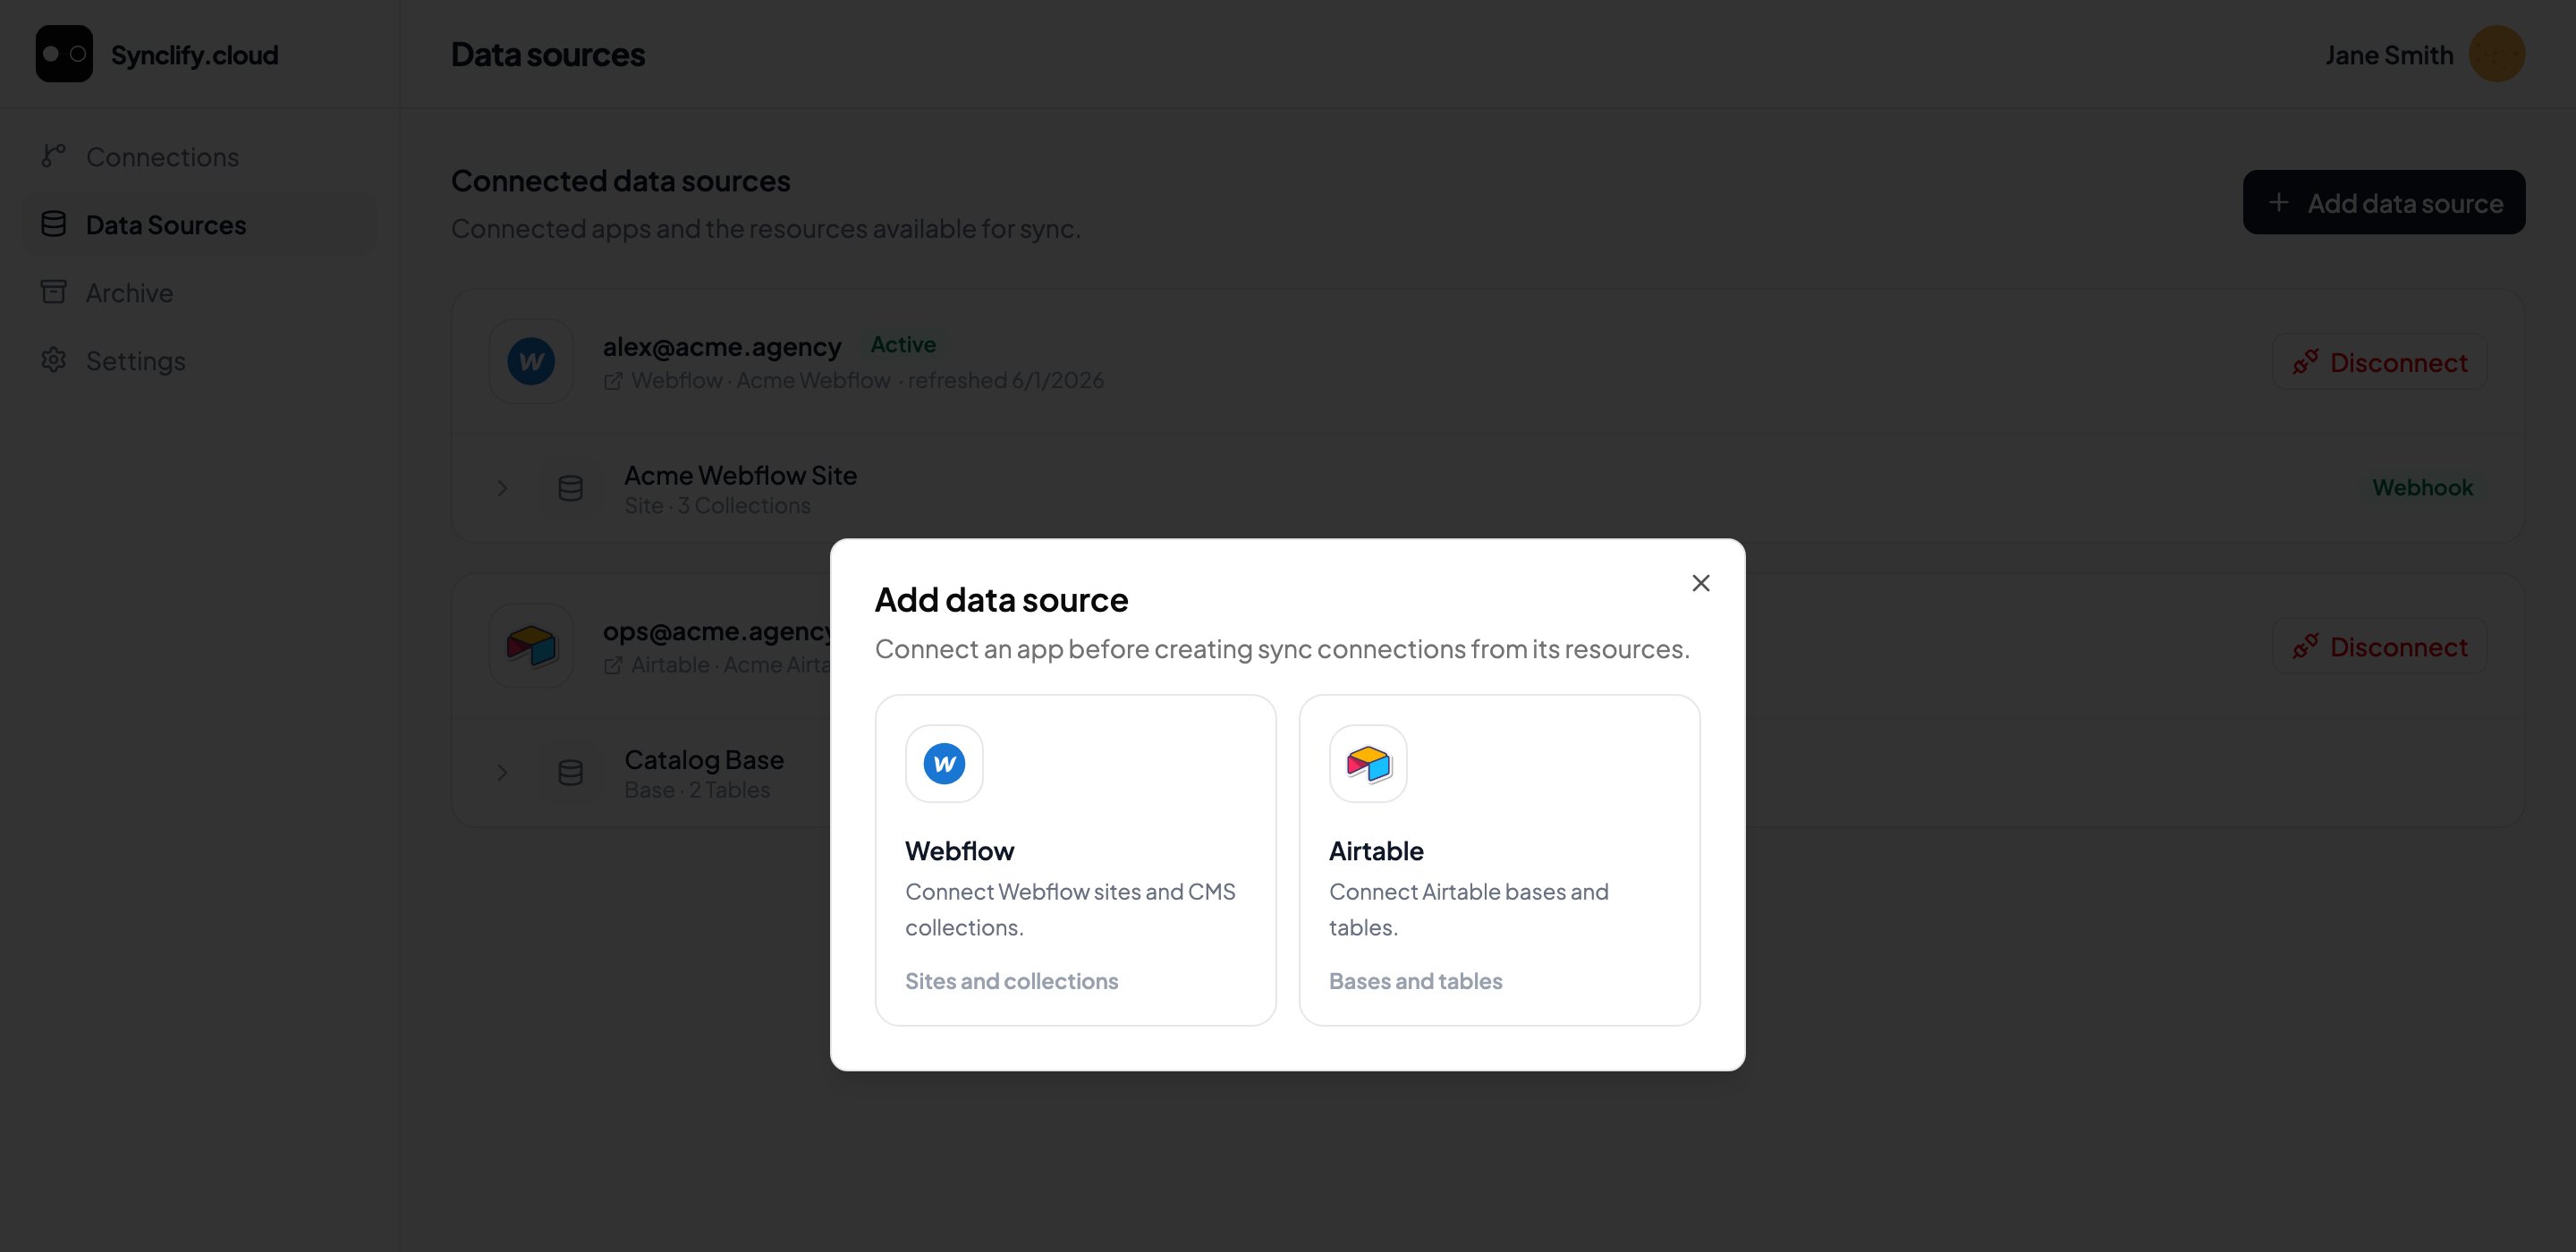
Add data source offers the two providers Synclify supports today.
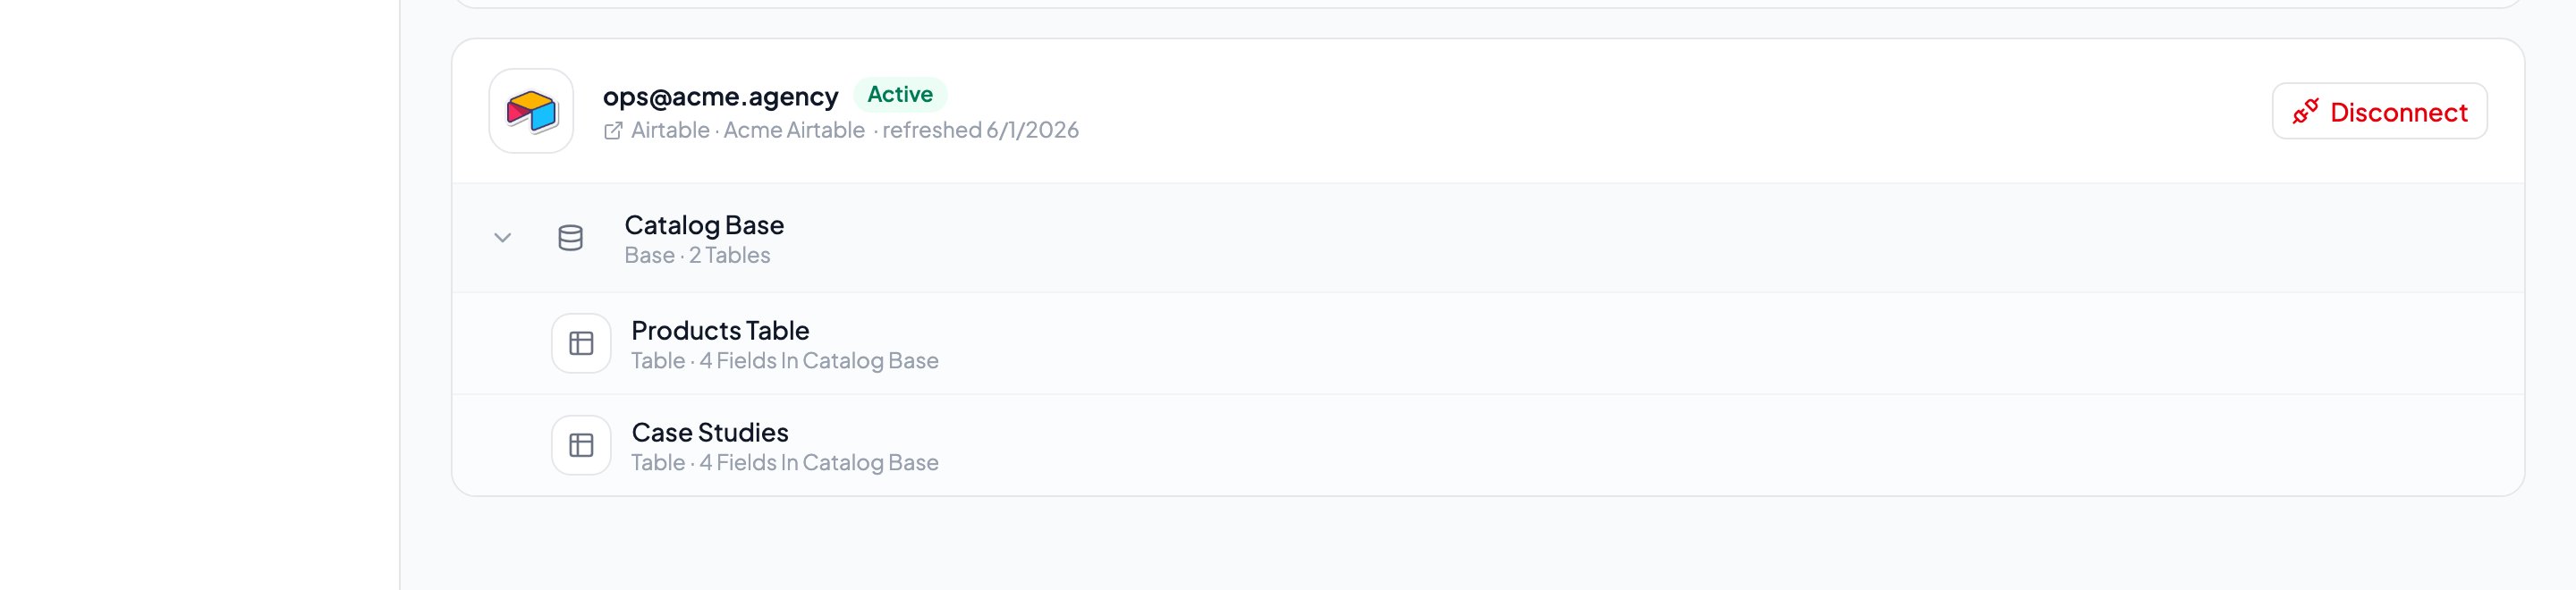
A connected Airtable account expands into its bases, and each base into its tables.
Preparing a table
Synclify syncs what it finds, but a little structure up front prevents most problems.1
Give it a unique identifier column
One column whose value is unique per row and doesn’t change: a
Slug, a Name, or a dedicated ID column. This becomes the identity field.2
Match column types to Webflow field types
Synclify groups types into four families — text, number, boolean, and date/time — and refuses to map across families. A text column cannot feed a Webflow number field.
3
Name columns like the Webflow fields
Auto-mapping matches on name.
Article Title → Article Title maps itself. Anything unmatched, you map by hand.4
Fill the required fields
Rows missing a value for a required Webflow field will fail on write. Webflow’s required fields are shown in the mapping step and cannot be unmapped.
Which bases Synclify can see
Only the ones you granted during authorization. If a base is missing from the source picker, reconnect the Airtable account from Data Sources and widen the grant.Account statuses
The Data Sources page shows a status per connected account:Other sources
Airtable is the supported source today. Google Sheets and Notion are on the roadmap.